The Bourbon Circuit
Why the office where Bourbon sits is worth more of your time than it looks, and exactly where to find all twenty Devil's Crossing bounty targets.
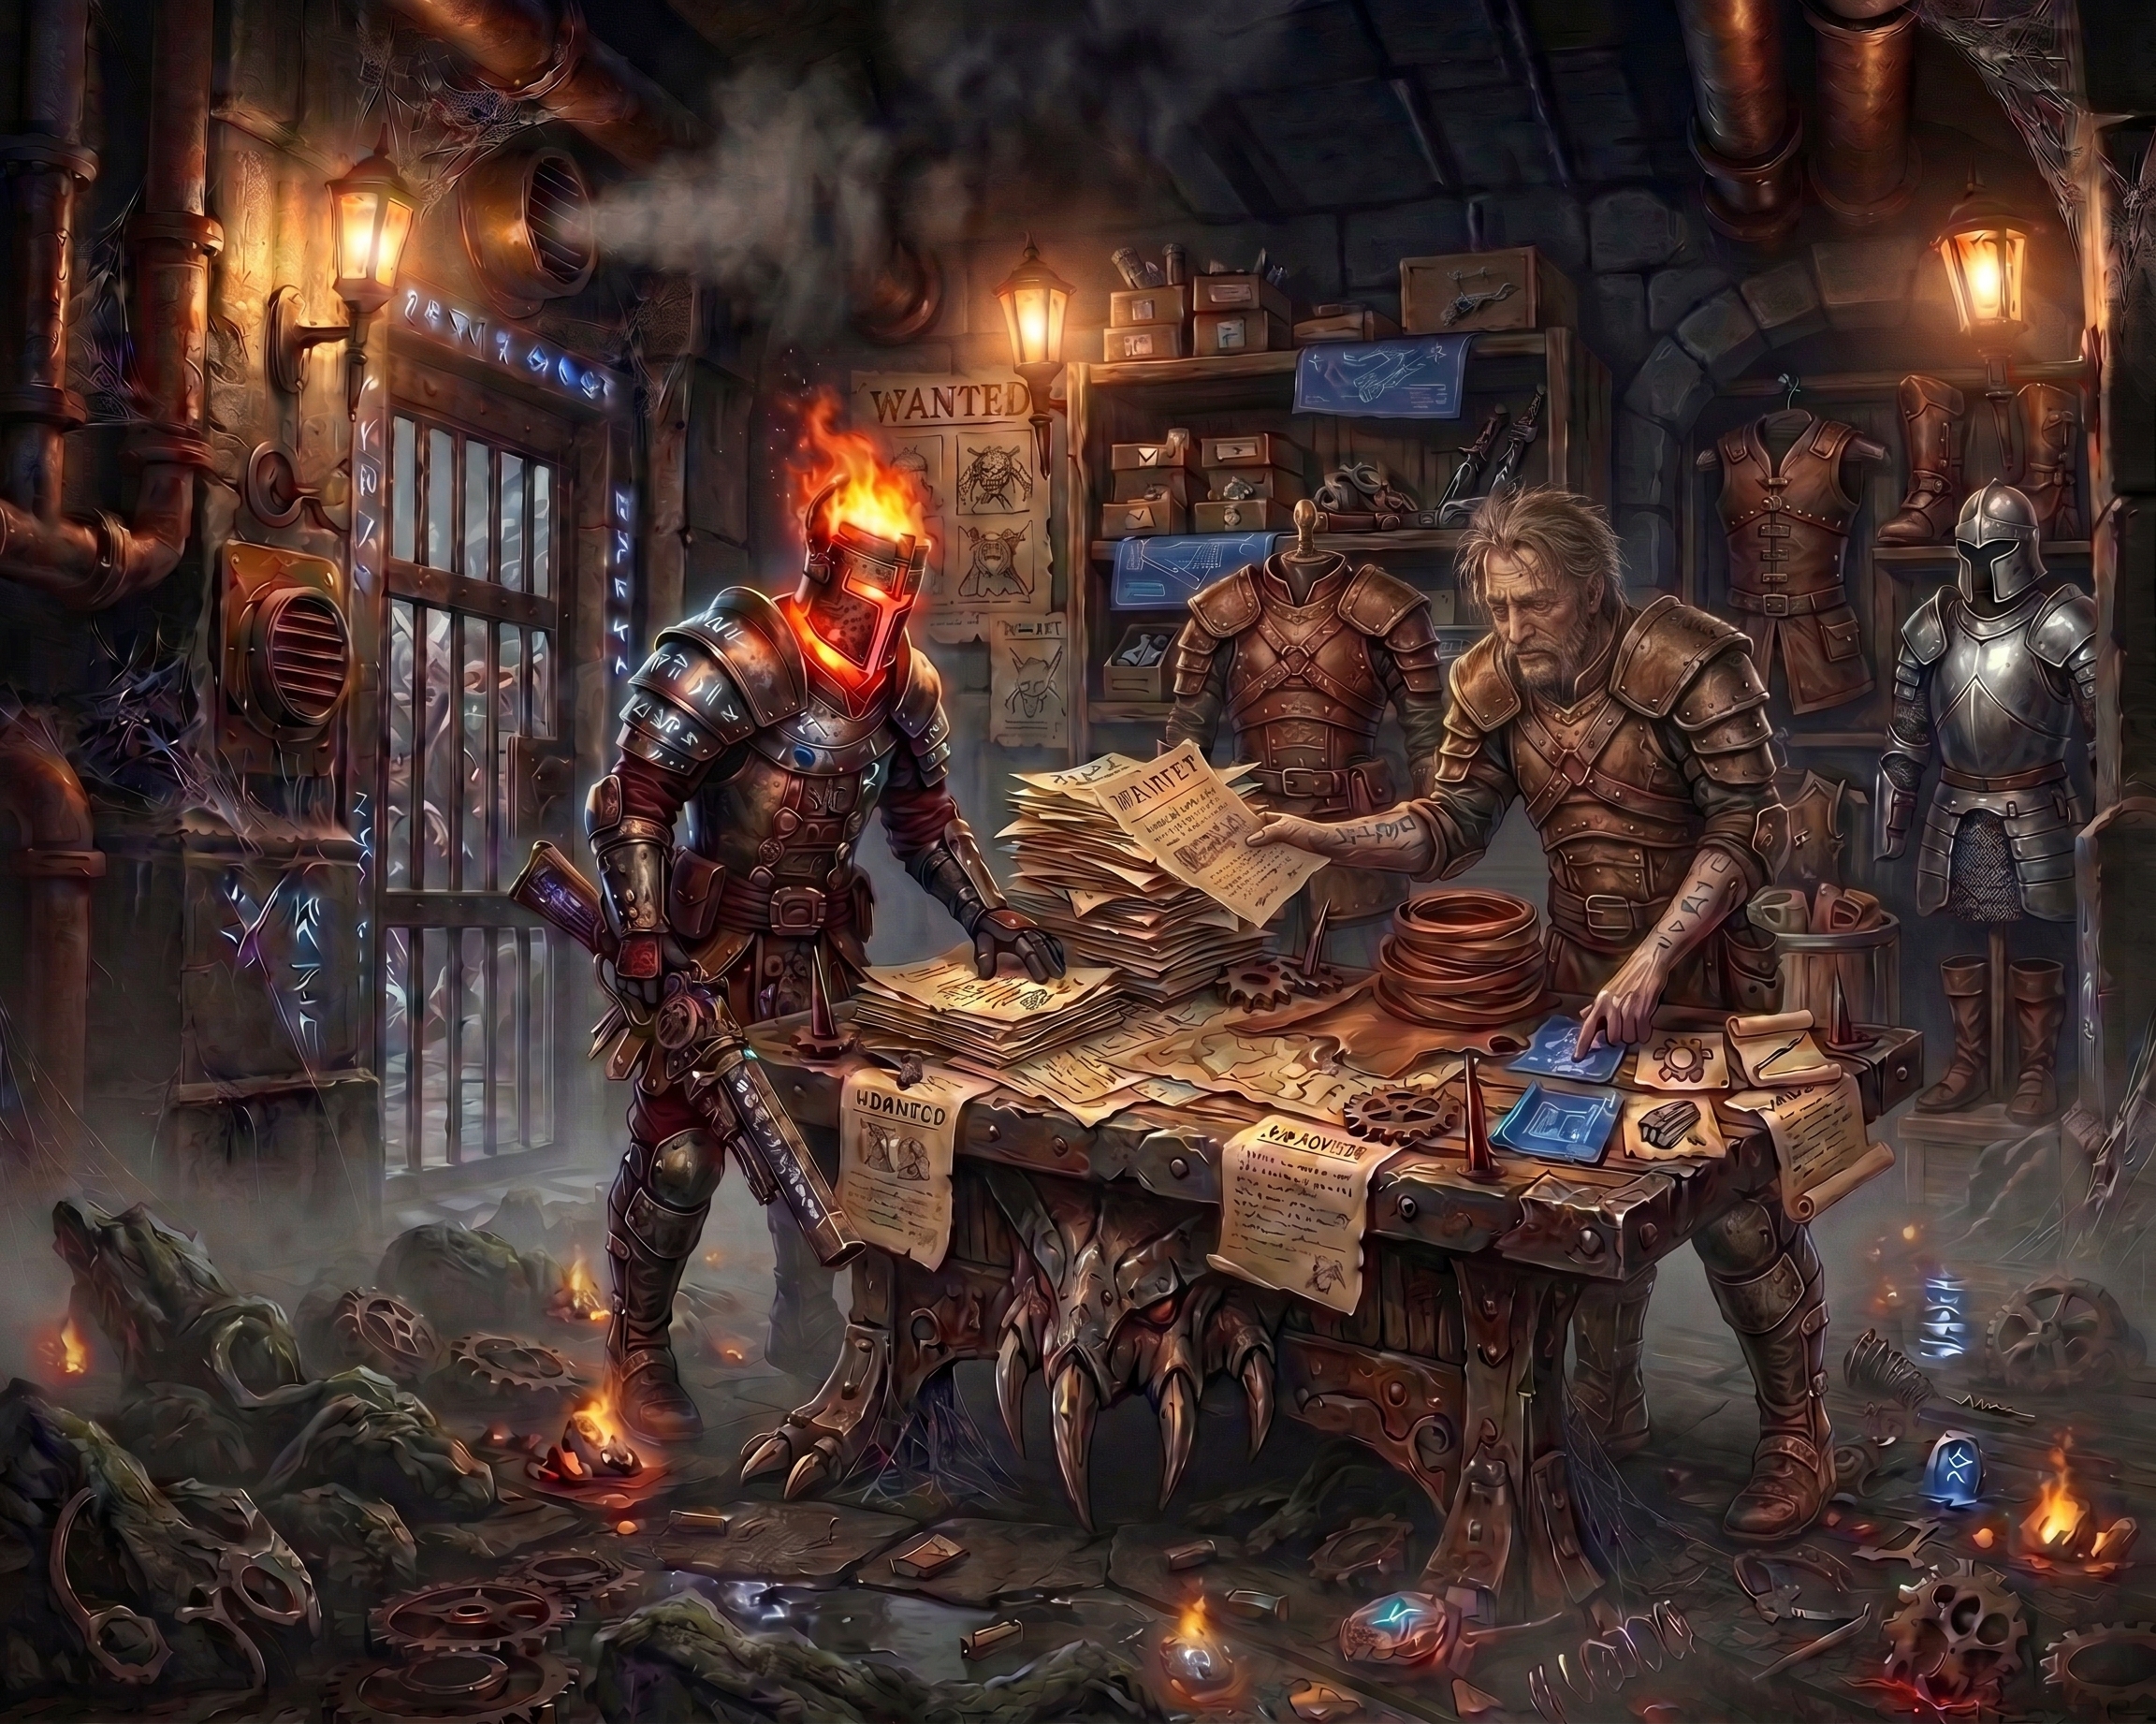
The situation
It looks like a side-quest board. It's a reputation engine.
Walk past Bourbon's office early on and the bounty table reads like flavor — a stack of loosely worded jobs with no map markers and no hand-holding. That's exactly why most players skip it until much later than they should. Devil's Crossing reputation gates real rewards behind it: blueprints, faction gear, recipes you can't get any other way. Bounties are one of the fastest ways to move that bar, and they're sitting right there from Act 1 onward.
The catch is that the board gives you almost nothing to go on. A name, a vague description, maybe a region. No quest marker, no arrow. You're expected to already know the world a little, or to go looking.
The method
Read the board like a local, not a tourist
Know the shape of the system before you read a single bounty
Up to five bounties can be sitting on the table for Devil's Crossing at once, and you can only carry one active bounty per faction at a time. Completing one pays iron bits and reputation; killing the actual target adds a separate reputation bonus on top, so the kill is worth doing even if you'd rather just grab the objective and move on.
Don't pre-clear a target before you've taken the bounty
Named bounty targets don't count as killed until the bounty for them is active — if you drop one before picking up the job, it simply respawns once you accept. There's no benefit to clearing a zone “in advance”; take the bounty first, then go hunting.
Learn the four zone clusters, not twenty individual locations
Nearly every Devil's Crossing bounty falls into one of four areas: the Old Arkovia mines and hills, the Burrwitch cellars and Depraved Sanctuary, the Warden's grounds, or a flat delivery with no location at all. Once you know the clusters, the board stops looking like twenty separate errands and starts looking like four.
The board
Where all twenty actually are
Old Arkovia — Four Hills, Cronley's Hideout, Staunton Mine, Hanneffy Mine
This cluster carries the heaviest share of the board, nine bounties in total, and almost all of them tie back to Cronley's Gang.
- Nicholas Balthazar — Staunton Mine, west of the Arkovian Foothills rift gate.
- The Raven (Bolla) — also Staunton Mine, west of the same rift gate. Easy to confuse with the next entry since both mines sit under Old Arkovia.
- Halion, The Rat — Hanneffy Mine, below the Four Hills. A different mine than Staunton, despite how similar the two sound in passing.
- The Bruiser (Romanov) — the mines below the Four Hills, usually alongside Cronley himself.
- Cronley's Lackeys — three Lieutenants drawn from a pool of up to eight, spread across the Four Hills, Cronley's Hideout, and Hanneffy Mine. You won't see all eight in one session, but three is reliable if you sweep all three areas.
- Cronley's Ascended — inside Cronley's Hideout itself; these are the two-handed ranged variants of his gang.
- Igor “The Brawler” — Cronley's Hideout, typically at the far end past the boss room or in the area above the shrine.
- The Aetherflame (Rostov) — Four Hills, with three possible spawn points: just inside the eastern gate, near the entrance to Cronley's Hideout, or inside the northernmost fenced enclosure.
- Master of the Pit (Boris) — the fighting pit in the Four Hills. Take the Old Arkovia rift gate north and look for the circular arena on the map.
Burrwitch — the cellars and the Depraved Sanctuary
- Ballior — hiding in one of three cellars: the Infested Cellar just north of the Burrwitch Village rift gate, the Dank Cellar southeast of the Warden's Cellar, or the Musty Cellar west of it. Which one varies, so budget time to check more than one.
- Slathra — a cavern in the Foggy Bank, reachable from either its east or west entrance.
- Blade of Ch'thon (Salazar) — the Depraved Sanctuary, accessed east of the Burrwitch Outskirts road, near the Burrwitch Outskirts rift gate.
- The Blooddrinker (Caspis) — also the Depraved Sanctuary, but further in — either the section just before the stairs down, or the final room past Salazar's boss chamber.
The Warden's grounds
- Reanimators — the Hidden Laboratory, reached by taking the Warden's Laboratory rift gate and working through the Living Quarters. Dominators count toward the total as well as standard Reanimators.
- Nalloth — somewhere in the Warden's Cellar, but the exact spot is random each time. A full sweep is the only reliable method.
- Warden's Pets — two targets in two rooms of the Warden's Laboratory: Gethrand in the Living Quarters, Zanbrandt in the Underground Jail.
Delivery bounties — no location at all
- Scrap — hand over five Scrap; pull it from your stash if you're already holding it.
- Aether Crystals — farmed from Aetherials, delivered rather than fought over.
- Calamity — craft a Calamity Relic at any Blacksmith and turn it in; the relic is consumed by the bounty.
- Tainted Brain — deliver Tainted Brain Matter, recoverable from your stash or farmed as needed.
The mixup
Four spots where the board gets confusing
Staunton Mine and Hanneffy Mine are not the same place, even though both sit under Old Arkovia and both host Cronley-related bounties. The Raven is in Staunton; Halion is in Hanneffy. Mixing them up is the single most common reason a bounty “won't spawn.”
Killing a named target before you've accepted their bounty doesn't count. The system tracks the kill against the active bounty, not against the world — so if you've already cleared an area and picked up the matching bounty afterward, don't be surprised when the target is back.
Nalloth and Ballior don't have one fixed spawn. Nalloth moves around inside the Warden's Cellar; Ballior can be in any of three separate cellars in Burrwitch. Both reward a full sweep over a targeted rush.
Four of the twenty aren't hunts at all. Scrap, Aether Crystals, Calamity, and Tainted Brain are all delivery bounties — worth clearing on sight if you're already carrying the materials, since there's no fight attached to any of them.
Summary
- The Devil's Crossing bounty table sits in Bourbon's office and unlocks faction rewards worth more than its plain presentation suggests.
- Up to five bounties can be active at once, one per faction, and the target only becomes killable for credit after you've accepted the bounty.
- Nine of the twenty cluster around Old Arkovia — Four Hills, Cronley's Hideout, Staunton Mine, and Hanneffy Mine.
- Four more sit in Burrwitch, split between its scattered cellars and the Depraved Sanctuary.
- Three are tied to the Warden's grounds, and the remaining four are delivery bounties with no location to search at all.